


Here is my sugar cookie recipe that I just LOVE!! I use this recipe for all occasions because it is the best I've found. I hope you enjoy it too.

Christmas

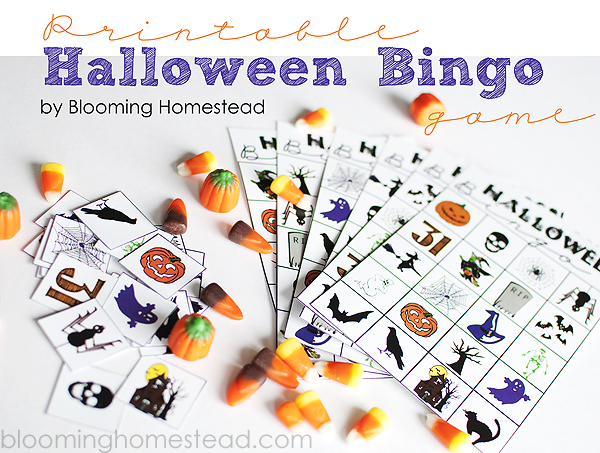
Halloween

Valentines Day
A couple tips for me is to roll out the dough thicker than I think...(we like them thicker). Also, when rolling out, I use a floured surface but also a little powdered sugar to keep the dough sweet. You may need to add more flour than the recipe calls for, I have had to adjust the flour in different places we have lived because of elevation. :)
1 C Shortening (I use butter)
3 C. flour
2 Eggs
1 tsp baking powder
1 tsp. soda
1/2 tsp salt
1 tsp vanilla
1 1/2 C Sugar
1/2 C. milk
{1- additional cups of flour-}
:Cut shortening into flour and mix other dry ingredients with beater,
separately mix wet ingredients together, then put wet into dry and mix
well. As you mix add in extra flour (as much as 1 C. to make the dough not
sticky) Roll out and cut. Bake @ 375 for 8-11 minutes.
Want updates and spoilers on projects and ideas? Come like me on facebook , twitter, and Google + to keep up on whats up next!